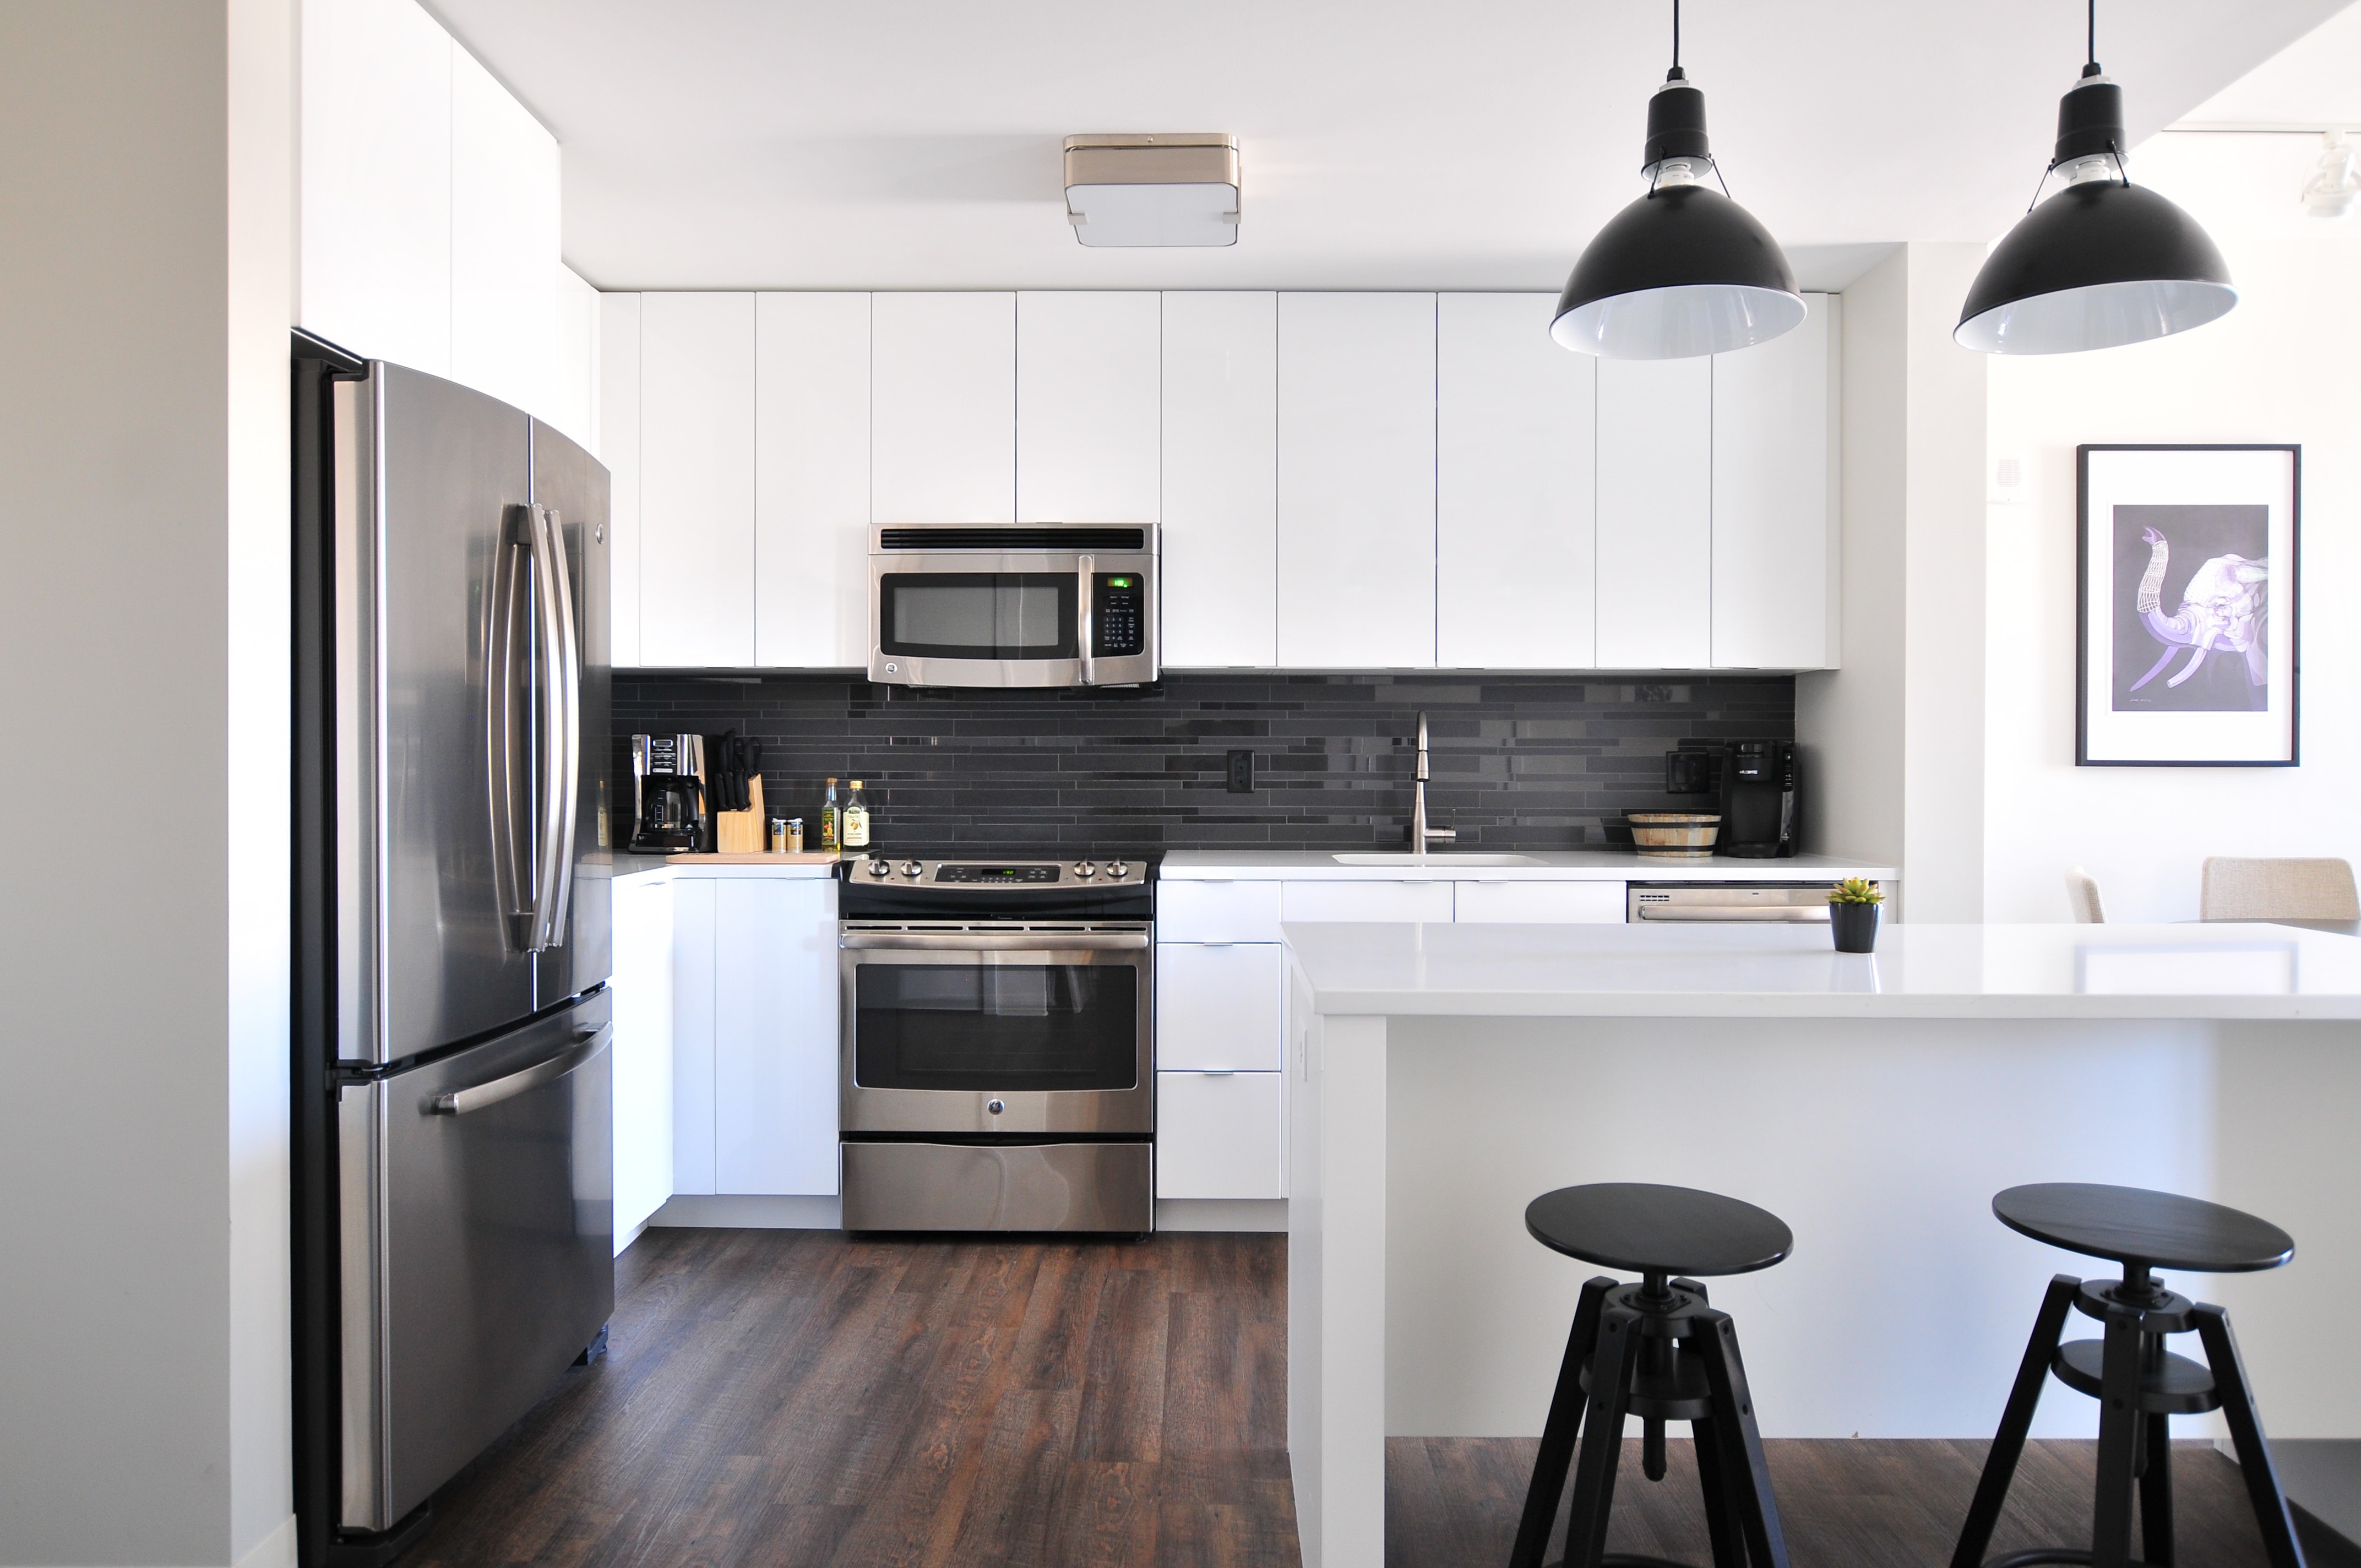
It’s likely that you have seen painted kitchen cabinets on Pinterest or Instagram and have thought about how to paint kitchen cabinets to achieve a striking look in your own home. It’s easier said than done, though, as there are a number of painted kitchen cabinet mistakes to take into account before you pick up a paintbrush. There is no getting around handling the preparation work required to ensure a smooth paint job free of brush marks, which includes thoroughly cleaning the wood and sanding surfaces. Additionally, to ensure that your diligent work of kitchen cabinets painting is preserved, you must allow your cabinets to dry for at least a few days after you’ve finished painting them. To put it another way, it’s a laborious process.
To learn more about kitchen cabinets painting by yourself, keep reading. In no time at all, you’ll have a brand-new kitchen to enjoy and impress loved ones with.
Plan practically.
Although kitchen cabinets painting looks lovely, they won’t always be perfectly smooth. The grooves will be visible through the paint if the cabinets have an obvious open grain. Even though it wasn’t very noticeable when the wood was just stained, once the paint dries, it will become more obvious. You can use putty to fill the grain, but it can take a lot of time and effort to do it perfectly.
Use painter’s tape.
Use painter’s tape or drop cloths to cover and tape off any areas you don’t want to paint, such as your countertops or the interior of your cabinets if you don’t want the inside painted. Newspaper is another option for kitchen cabinets painting interior protection.
Use proper tools.
The best option for kitchen cabinets painting is an airless paint sprayer if you’re experienced and know how to use one because you can get lovely, even coverage. Experts advise using a roller for the flat surfaces and a two-inch angle brush for the cabinets’ interior corners and crevices. Choose the proper paint roller nap as well. If you want an ultra-smooth finish, avoid using a traditional woven roller. Instead, choose one made of a finer material, such as microfiber. For a smaller surface area, like a cabinet, a mini-sized roller that is roughly 4.5″ wide is ideal.
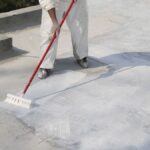
Prior to painting, clean the wood.
“No matter how spotless you think your kitchen is, you need to use a grease remover to wipe everything down. If you paint an oil-covered door with water-based paint, the paint won’t adhere. TSP, a paint-prep degreaser, and a non-scratch delicate scrub sponge are recommended by experts for sticking on spots.
Keep the drawers and doors in place.
This is an essential first action: Remove all of the doors, all of the drawers, the hardware knobs, and the hinges. Some people attempt to save time by painting everything while it is still assembled, including the hinges, but Petersik cautions that this is not a long-term solution.
Within a month, or even right away, your cabinets and hardware will begin to chip and show signs of wear. Save yourself the hassle; once the paint on the hinges begins to crack, there is nothing you can do but sand everything down and soak the hardware to remove the paint.